Get your accounts together!
Tags: account control tower sso organizationsAccounts: then and now
A foundation of working with AWS is having an account. This is a basic billing/organising unit, and signing up with AWS will result in you having at least one account.
Any work beyond the most basic experimentation usually leads to having many accounts - and this leads to the need to organise them for billing, security, etc.
We have worked with AWS for years, and have many accounts. At first, we organised them by having a Master account in which we implemented our logins, and used cross-account roles to provide access from there to particular use cases/accounts.
With time and experience, AWS has now rolled out solutions that encapsulate lessons learned, and advocates using their Control Tower approach to manage accounts. This works with their SSO (Single Sign On), Service Catalog, and Organisations tools to manage an account structure centrally. SSO centralises logins, Organisations provides a structure for managing many accounts, Service Catalog can provide a tool for creating (“vending”) new accounts as required, and Control Tower can apply standard requirements (as well as specific ones) to created accounts, and update the requirements as changes are introduced.
We took up this new approach, and began creating new accounts as needed. But we also had a number of legacy accounts which had valuable assets in them, and we investigated the possibility of integrating these into our new structures.
AWS moves and adapts. When Control Tower first became available, there was no mechanism for integrating existing accounts. We pursued some work-arounds involving ’non-managed’ Organisations and Roles, and waited and watched.
One solution to this problem is to use “Infrastructure as Code” (IaC) - which means creating assets with automated tools configured by written specifications - code, rather than “click-ops”. Cloudformation, CDK, Lambda - all of these provide ways to create assets in AWS, and with this approach disaster recovery, re-use of solutions, creation of standard products - all become possible and often easy. Approaching deployment on AWS using IaC allows re-use, standardisation, industrial-scale deployment, and reduces errors.
With proper IaC, reproducing assets in a new account structure is a practical approach to the change over.
However, there may also be situations where actually bringing legacy accounts into a newly created, and more modern, Control Tower based account structure is useful and this article is about what we found using this approach. AWS provided a solution to this problem recently. Spoiler: it works.
Our circumstance
Our legacy accounts were child accounts we had made under our ‘classic’ master account. In fact, this master account itself had some valuable assets in Route 53 - domains and record sets we have for several of our web assets. User pools, AD set ups, and connections to 3d party systems are other likely candidates for set ups that aren’t so easy to duplicate anew.
Migrating a legacy account requires several broad steps:
- Remove the legacy account from any Organisation it is a member of.
- Invite the legacy account to join the Organisation of the Control Tower structure.
- Enrol the account into Control Tower.
Ready to go
To remove an account from its Organisation, you must log into that account as the root user of that account. If you haven’t already arranged this, then you may use the ‘Forgotten Password” approach - but you must be able to receive emails sent to that root user.
Open a browser session that isn’t otherwise logged in to AWS, and open the page to sign into the Console. Elect to log in as Root user, and then enter the email associated with the account. Select ‘Next’.
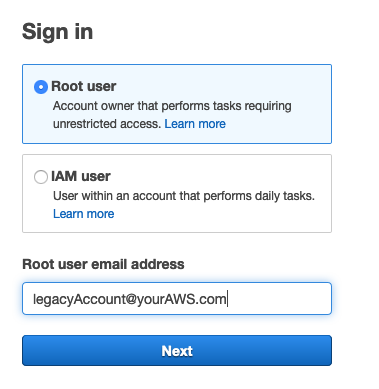
On the next screen, if you haven’t already arranged the root password, select the “Forgot your password?” link. Follow the steps from there to change the password.
Start again as above and use the password to log in to the AWS Management Console as the Root user. Open the Organisations page. You will be informed which Organisation the account is currently a member of, and there is a button to select to leave the Organisation. Select that.
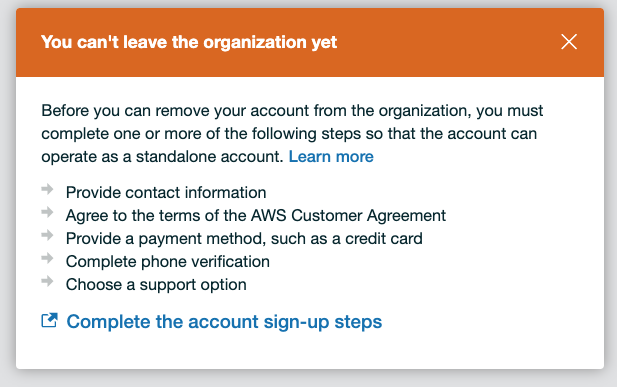
At this point, you may be informed you must complete steps to leave the Organisation. AWS needs someone to be accountable for any account. Elect to complete the sign-up steps, and then leave the Organisation.
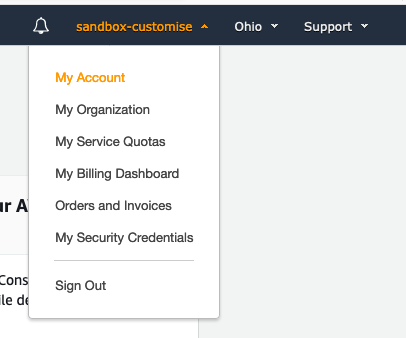
While you are still logged in to this account as the Root user, it may be convenient to change the name of the account, or its email to fit in with the scheme you have chosen for your new account structure. To access these entries, select the ‘My Account’ link in the upper right of the console page. Make the changes and save them.
Welcome home
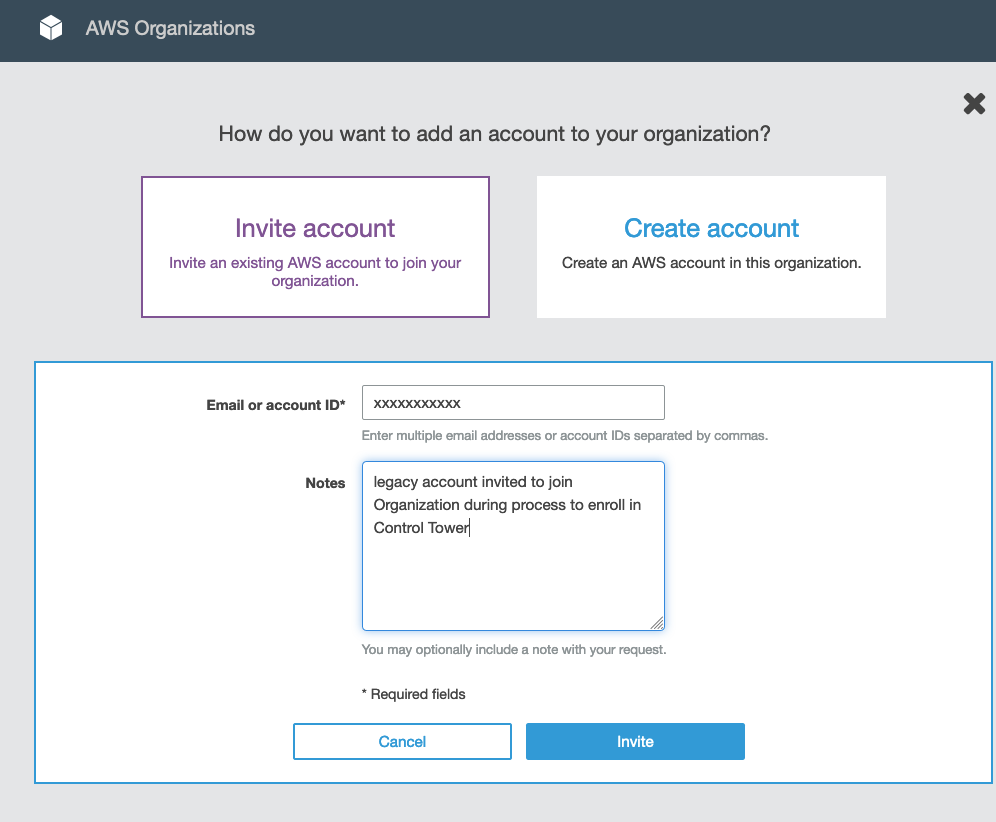
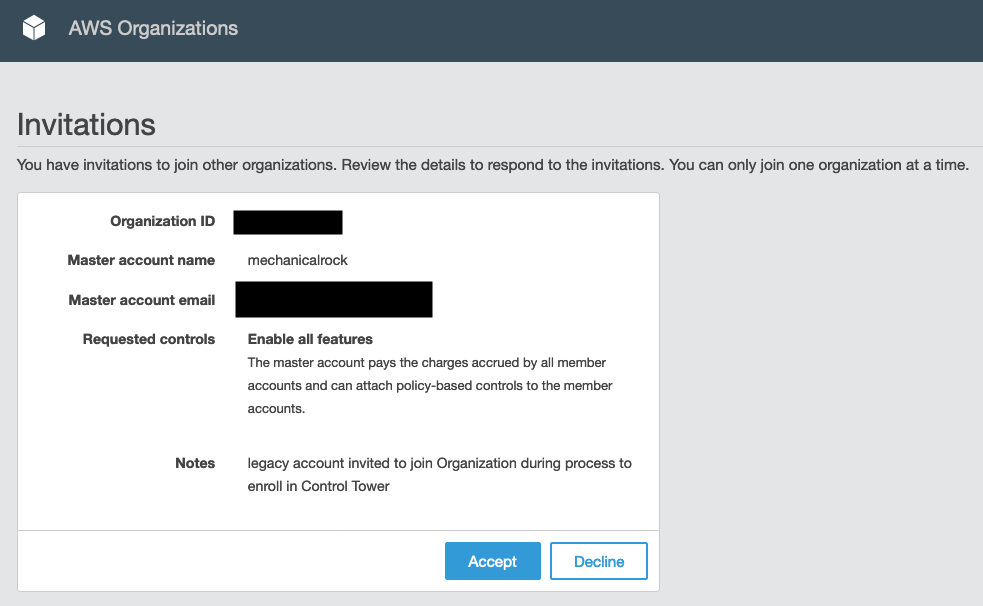
Next you must invite the now-independent account to join the new Organisation. In fact, you could have already done this and found the invitation waiting, but the steps are the same.
From the Organisation page of the new master account, from a link near but not at the top on the right, select ‘Invitations’. Fill in the details on the next page to issue the invitation.
In the Organisations page of the independent account, find the invitation and accept it.
While the newly added account is now included in the new Organisation, we have also needed to visit the SSO console and assign users and/or groups and permissions to make it available through the SSO sign-on page.
“You can’t get there from here”
The ex-legacy account is now available in the new account structure and using the new account SSO sign-on, but is not yet managed by Control Tower. For this last, you must enrol the account into Control Tower.
The steps to include the legacy account into the new Organisation leave the account in the root of the Organisation. AWS offers two approaches to enrolling the account into the Control Tower - one manual ‘click-ops’ and another automated approach allowing bulk enrolments.
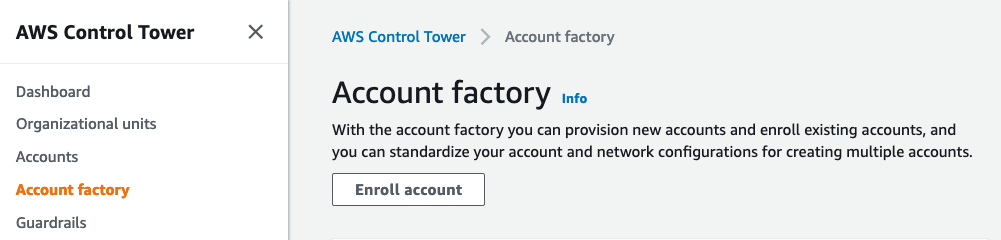
The ‘click-ops’ enrolment approach is detailed here: Enroll Account
The bulk enrolment approach is detailed here: Enroll Account Solution
We used the bulk enrolment approach.
AWS Organizational Units (OU) created by Control Tower are ‘registered’ in Control Tower, but the user may create OUs in other ways which are not registered.
The bulk enrolment process requires that the new accounts to be enrolled are already in an ‘unregistered’ OU. You can simply create an ‘unregistered’ OU in the Organisations console and move the new accounts into that to carry out the enrolment process. Part of the enrolment process is to specify the destination OU for the accounts, chosen from the OUs that are ‘registered’ with Control Tower.
In our console, the Root account is not labelled as ‘Registered’ or ‘Unregistered’. For our case, we simply created an OU named ‘control-tower-staging’ and put our legacy accounts in that prior to enrolling.
After setting up the solution, this is the command we used for bulk enrolment:
$ python3 enroll_account.py -o Workload -u control-tower-staging
‘control-tower-staging’ is the un-registered OU the migrated accounts were placed in temporarily.
‘Workload’ is the registered OU they are to be placed in when integrated into Control Tower.
Note that there are some pre-requisites for enrolling an account - we had to delete some resources and default VPCs in one account that interfered with Control Tower. The AWS documents above note the requirements, and will be kept up to date, so look there for details. Some of the pre-requisites were actually added by the bulk enrolment process, so don’t assume you need do everything yourself depending on which route you choose.
Now our legacy accounts are integrated into Control Tower, global Policies are applied to these accounts, and subsequent Policies and customisations will be applied by Control Tower. This was useful to us in re-using work we had already done, and will be useful in some later work assisting clients to bring their AWS deployments under control as they formalise their solutions.